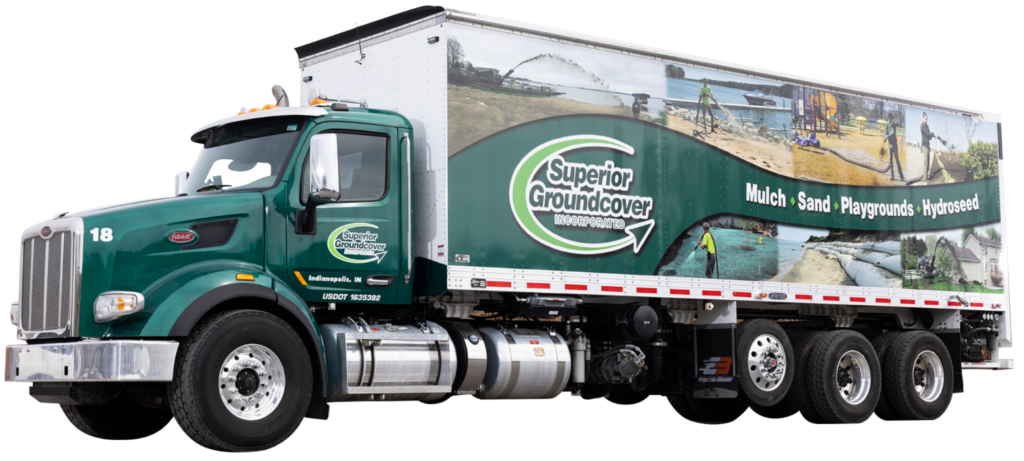
Having a properly installed foundation drainage system is imperative to maintaining the structural integrity of your home. Not only can foundation drainage issues lead to standing water in your yard, but they can also lead to foundation cracks, mold, and other severe property damage. On top of that, much of the damage caused by poor drainage is not covered by insurance because it’s often preventable. This blog is for those interested in learning how to properly install a foundation drainage system (DIY). We’ll cover many important factors that can help inform which drainage solution is right for the job.
Installing a foundation drainage system on your own can be extremely difficult, time-consuming, and occasionally dangerous. Make sure you’re prepared for the challenge or call in the professionals to take care of it for you.
What type of foundation drainage solution is required?
Before considering how to install a foundation drainage system, you must first consider which type of drainage solution you’ll need. What kind of water issues are you facing? What type of soil do you have in and around your property? Will an exterior drainage system be possible? What hazards are buried around your property (power lines, gas lines, sewage)?
Surface water or standing water can ruin your landscaping. It can also seep into your basement leading to mold and more. To address surface water issues, you could install a french drain. A french drain is made up of a perforated plastic pipe, a permeable mesh sock, and gravel.
If you have a runoff problem on your property, you’ll not only need to address the extra water but possible erosion issues as well. Superior Groundcover’s team of erosion control experts can help find the right solution.
Know what the regulations are in your area.
Each state, city, or county may have its own laws surrounding foundation drainage that must inform what type of drainage system you install and where you install it. You can check with your county or state to find documents explaining what is and isn’t legal. Your drainage system may affect neighboring properties and therefore, must be built in accordance with the law. Some more general requirements can be found in the following links:
The International Residential Code (IRC), in Section R405.1,
OSHA Technical Manual; Section V: Chapter 2 Excavations: Hazard Recognition in Trenching and Shoring
What are the excavation requirements?
First, make sure your landscaping is done at the proper slope. A slope that is too steep will cause erosion issues. A flat yard will lead to standing water. A proper slope is 1 foot in rise (the difference between the highest and lowest points in the slope) per 50 feet of run (the horizontal length of the slope). This is ideal for drainage.
To install an exterior french drain, you’ll need to do some digging — digging up most of your yard, unfortunately! During this step, make sure to avoid any buried power lines, gas lines, or sewage. You’ll have to dig a trench around the perimeter of your footing. This trench must be at least two feet wide and six feet deep. For a slab-on-grade home, the trench can be as shallow as two feet.
Exterior drains can get clogged in a few years and require you to redo this project. In order to make sure this doesn’t happen, you’ll have to place a permeable mesh sock over the drain pipe. Your other option is to install an interior drain. This requires breaking up your basement floor, installing the drainage system, and then rebuilding the floor.
At this point, you may be thinking the install job might take a little more time and attention to detail than originally thought. That’s ok. The team at Superior has the experience and expertise to install foundation drainage systems correctly and
What are the required materials for proper foundation drainage?
Different drainage solutions can require different materials. There are many questions that need to be answered. What is the preferred placement of stone around foundation drainage? What kinds of stone can I use? Where can I get stone? What kind of pipe or tile is required?
Acquiring the correct materials will help inform you of how to install a foundation drainage system. For a basic french drain, you’ll need perforated pipe, a geotextile cloth/cover such as a permeable mesh sock, and gravel. Not sure what those materials are or where to find them? Let’s break them down.
- Perforated Pipe: A perforated pipe is simply a plastic pipe, such as corrugated drain tile, with small exterior perforations that help collect and redirect water in the soil.
- Geotextile cloth/cover: Geotextiles are permeable mesh fabrics which, when used in the soil as part of a foundation drainage system, have the ability to separate, filter, reinforce, protect, or drain. They help to filter soil and prevent the perforated pipe from clogging with dirt over time.
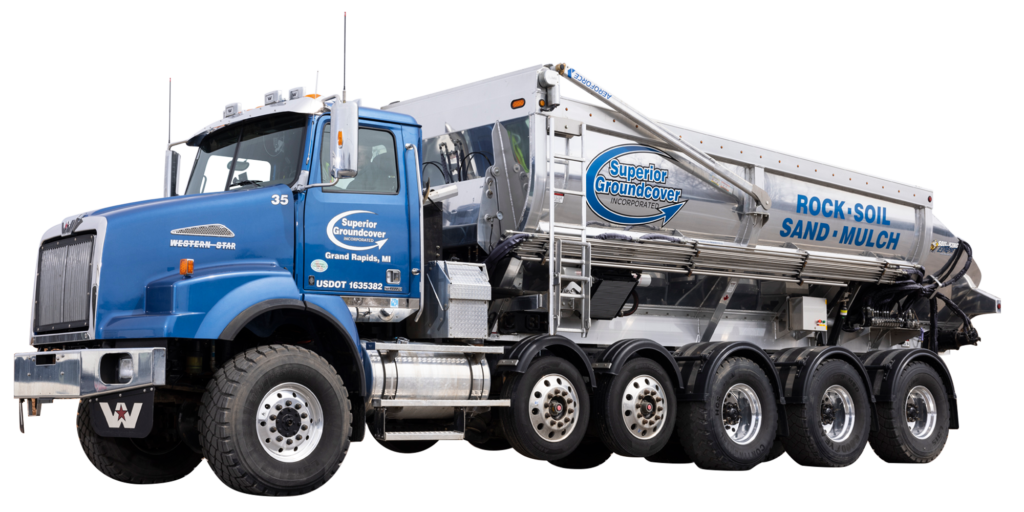
- Proper backfill material: There are several varieties of proper backfill materials that are used in different scenarios. When installing a basic french drain, you’ll need to use pea stone or washed gravel to cover the pipe and fill in the trench. Superior provides and installs a variety of backfill media. Our stone slinger trucks easily install peastone without any heavy lifting or ruining your landscaping.
- Extras: Tools for excavating, hammer, stakes, string, line level, tamper, tape measure, rake
Before buying materials, find out which kind of drain pipe is best suited for the job. We break down several of the options and descriptions of other related terms here in our glossary.
How to install a Perforated Drainage Pipe
Step 1: Dig the trench
Prior to doing any digging, you’ll have to prepare your property. First, call your utility companies and have them mark where your utility lines are buried to make sure you don’t hit them while digging.
Next, make sure that the trench will use elevation properly to direct water away from the structure. Once you’ve prepared your yard and made your plan, it’s time to start digging.
Make a trench around 2 feet wide, or twice the width of the drainage pipe. Make sure the trench is deep enough that the entire pipe lies below the frost line.
A trench that is 6 feet deep should generally work for a regular basement. You’ll have to check local laws and regulations to make sure your trench is in compliance. If you have a large property, manually creating the trench could be a huge project. Consider renting equipment to make the job a little easier.
Step 2: Create a proper slope
Use a sledgehammer to drive stakes/markers into the soil in the trench every four feet or so. Take a string and tie it where the pipe should start. Next, run that string to the next stake and wrap it around.
Use a line level to make sure your string is level. Slide the string down half of an inch to create the slope and ensure that the water runs down the drainage pipe and away from the structure. Repeat this process until you’ve tied every stake.
Step 3: Level the soil
Using a tamper, pack the soil in the trench to create a solid base. Measure to make sure that the distance between the string and the soil in the trench is the same at every stake. Adjust the trench by adding or removing soil to create the slope.
After you’ve tamped down all of the soil in the trench, you can go ahead and remove the stake and string guides.
Step 4: Add geotextile and gravel
Geotextile should be laid to make sure that soil doesn’t clog your drainpipe and force you to redo this project in a few years due to drainage problems. Simply place the fabric along the trench. You’ll need the fabric to be wide enough to eventually wrap around the drainage pipe and gravel that will surround it. Pour a 2-inch layer of gravel onto the fabric and, using a rake, level it.
Step 5: Place the pipe
Lay the perforated drainage pipe on the gravel. Again, check the area laws and regulations. Some areas require the use of “sock tile,” or a drain pipe that is covered in permeable mesh. This mesh acts as a second barrier to prevent the pipe from clogging with dirt.
Step 6: Finish
After you’ve placed your drainage pipe, you’ll need to cover it with a second layer of gravel. Place enough to bury the pipe 4 to 6 inches deep. Use the geotextile you placed in Step 4 to wrap the pipe and gravel. Cover the wrapped pipe with a few inches of dirt to hold the fabric in place.
Finish filling the trench and replacing any affected landscaping.
Finding a professional team to help:
As you can see, placing an exterior drainage system is a challenging task to tackle on your own. On top of that, if done incorrectly, your insurance company may not cover any damages, and you could be in violation of local laws and regulations.
Secure the safety of your home and landscaping by using a professional team that can get the job done right the first time. Superior’s team of experts can make sure your home or building is protected from foundation drainage.
Have more questions about how to find the right drainage solution for your property? Get in touch with us and we can help.


