Whether you are installing a new lawn, repairing an older lawn, or simply curious about this method, we’re happy to answer all of your Hydroseeding questions and help you decide if this is the right service for you. Hydroseeding is a complicated topic and we want to make sure you grass-p the basics so you can make the best choice for your lawn needs!
We’ve helped thousands of customers with their hydroseeding needs and have had beautiful results, which is why we recommend this method over sod or grass seed lawn installation.
What is Hydroseeding?
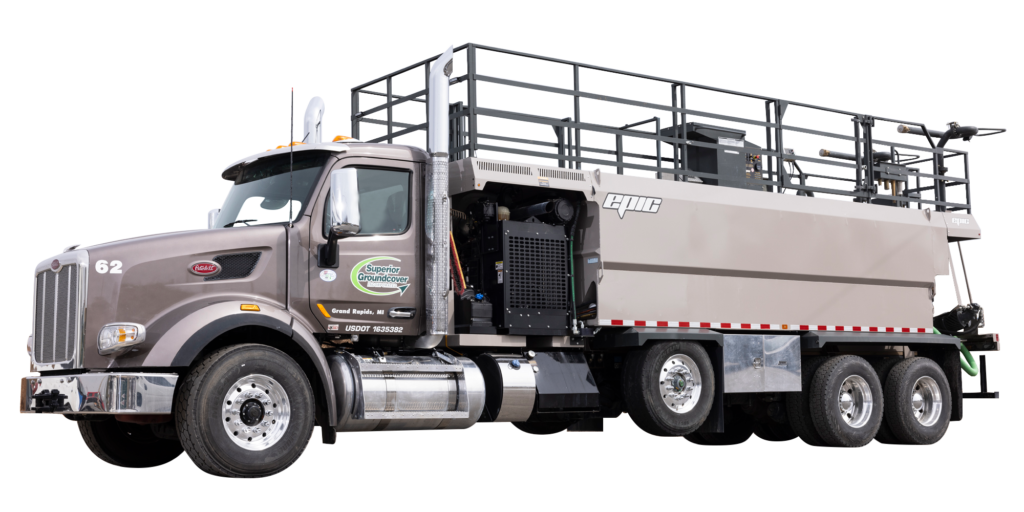
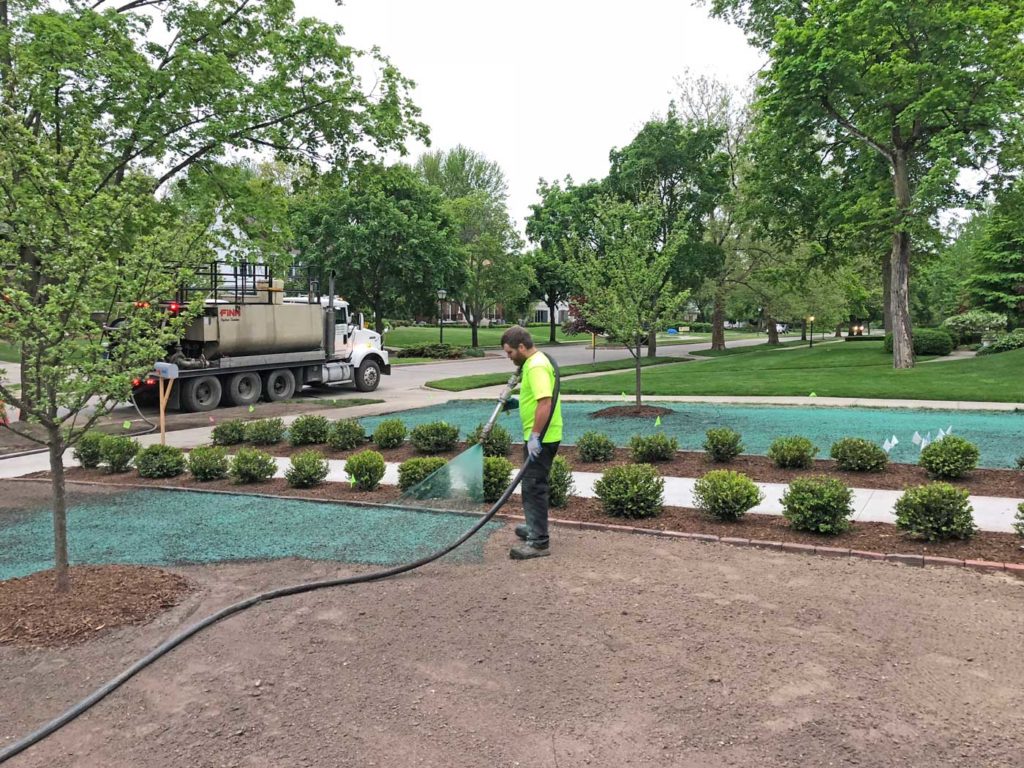
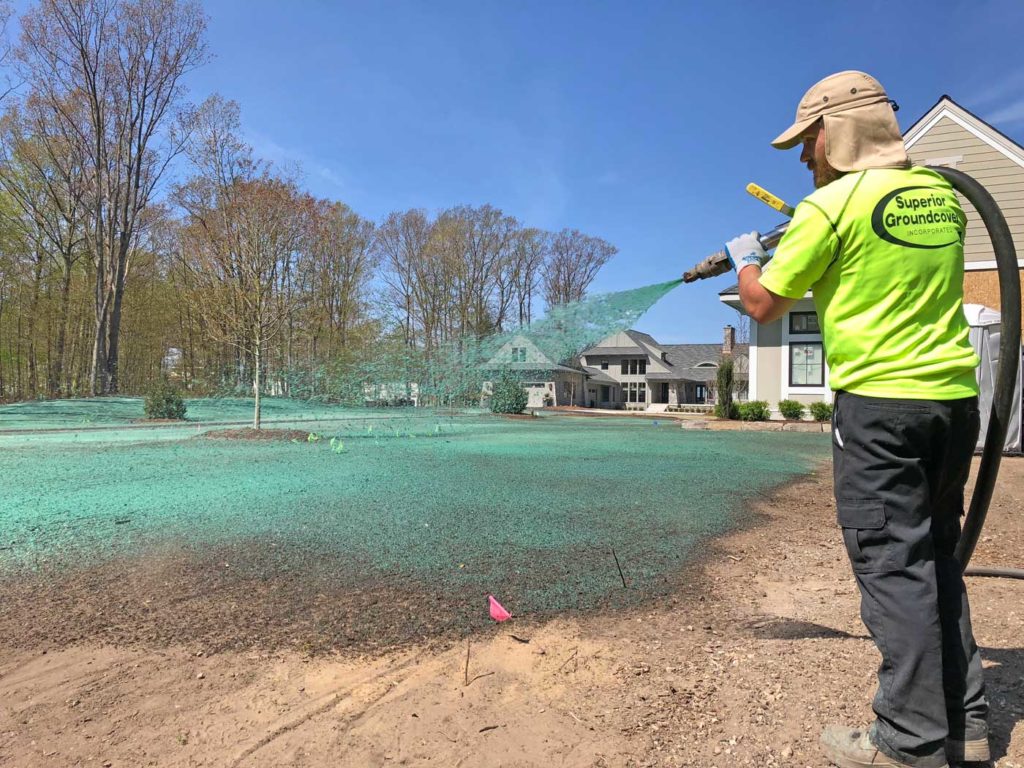
Simply, it’s an efficient, high quality, and inexpensive method of seeding a lawn. Technically, it’s the process of combining a mixture called a “slurry” (seed, mulch, fertilizer, soil amendments, and water) in a Hydroseeder tank, and then applying that mixture to the intended surface using high pressure. The hydroseeder keeps the slurry evenly mixed.
This causes speedy seed germination and stops erosion in its tracks! In the best scenarios, a new lawn will start to sprout in only a week, but in most cases, it will take 2-3 weeks to germinate. You will typically see sprouting in 1 to 2 weeks.
The method of using a hydroseeding tank to combine a seed mixture with water and apply it under pressure is used for things other than just grass, like wildflowers or oats.
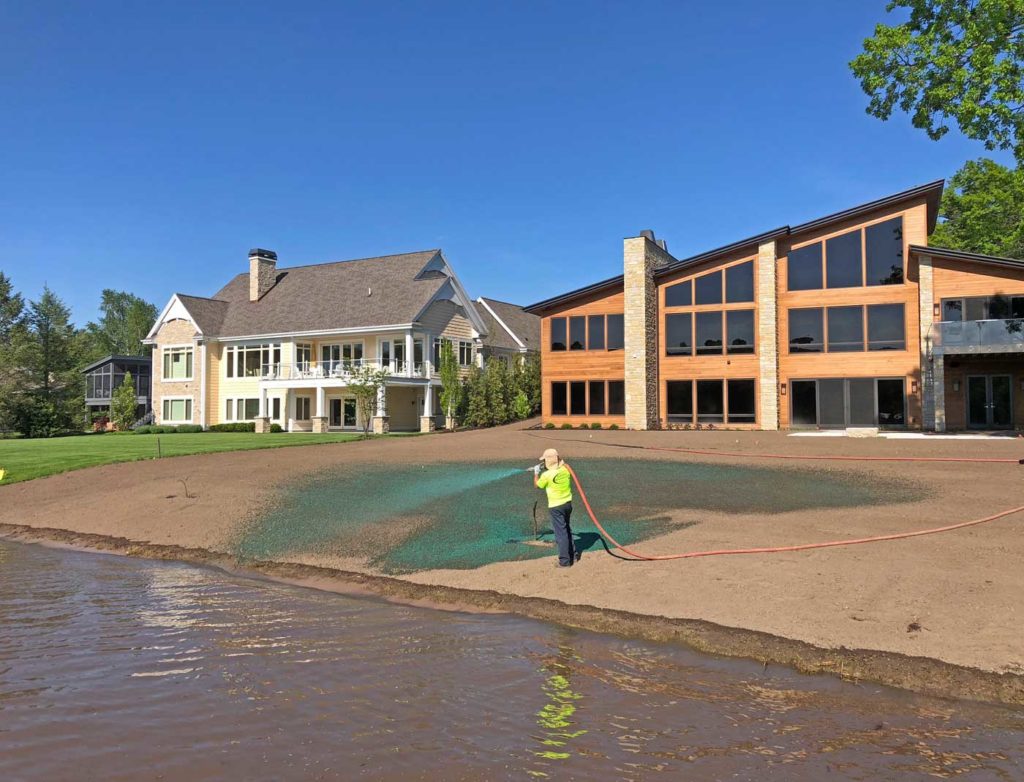
Hydroseeding is commonly used for things like:
- Beautifying yards
- Preventing or stopping erosion
- Eliminating or reducing dust pollution
- Preventing weed growth
- Creating athletic fields or parks
When we begin a project, we prepare your soil for the seeds before spraying to make sure that your grass will always be greener! After installation, you’ll want to stay off of the fresh seed until it grows all the way in to prevent damage.
Now that you’re familiar with the term and the basic process, let’s get into what it means for you.
We’ll discuss how much hydroseeding costs compared to other methods (like sod or grass seed), the benefits, how to do it yourself, and what mistakes you’ll want to avoid.
Hydroseeding Cost
The average cost of hydroseeding in the US is between $0.21 and $0.26 per square foot. That means that a lawn between 6,000 and 10,000 square feet would cost around $1,500—$2,600. These prices usually include lawn & soil preparation, materials, and hydroseed installation. Pricing can fluctuate from site to site, so it’s always best to reach out to a service provider (like us) for a free estimate based on your specific project.
You can purchase cheaper spray mixtures at your local hardware stores if you’re looking to DIY. However, we recommend using a professional to get the job done right.
This is because cheaper equipment or mixtures won’t produce the same quality. It’s also difficult to know when you’ve spread the mixture evenly. Hydroseeding your own lawn is also a big time commitment and a physical challenge as it can take more than 5 hours of constant work.
Still interested in doing it yourself? Scroll to our tips for DIY Hydroseeding.
When is the best time for hydroseeding?
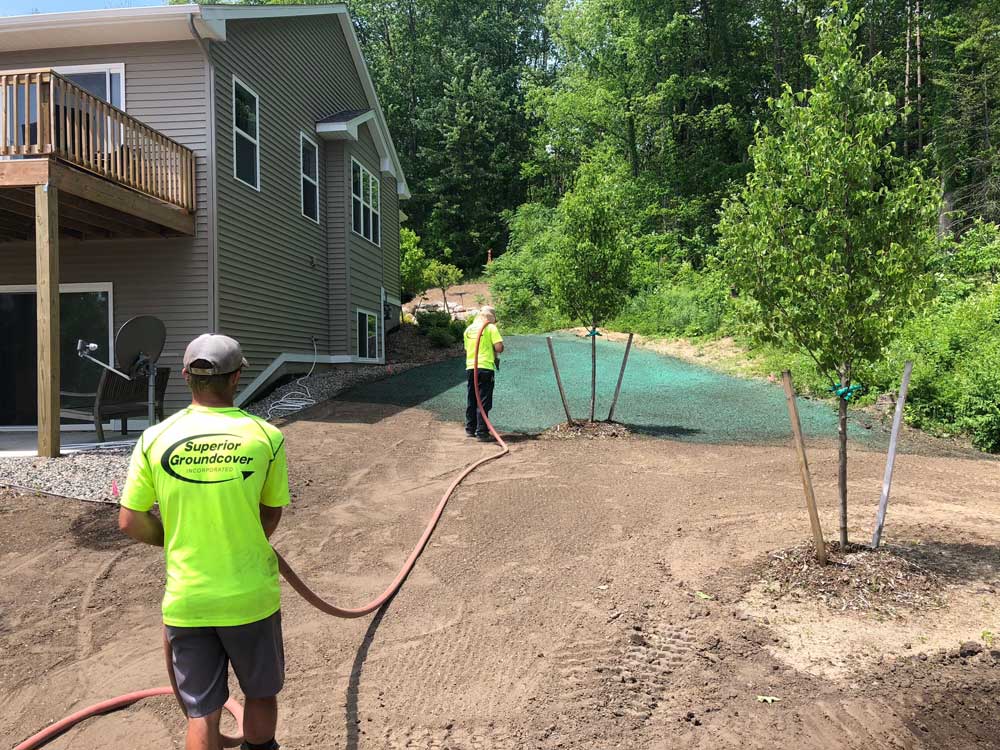
The best times for hydroseeding in Michigan are Spring and Fall. Both are wet enough and moderately cool, creating an ideal environment for seeds to grow. Plan to hydroseed your lawn early in either season. Your lawn will grow stronger and become better established the longer it has before harsh winter or summer weather begins. Don’t pro-grass-tinate!
Different Types of Hydroseeding
One of the many advantages of hydroseeding is the ability to apply a variety slurries. One difference between hydroseed mixtures is the seed choice. You may be interested in one seed type for an eye-catching front lawn and another type for your shadier areas. You could even use wildflower seeds for areas of your yard that are hard to mow. Make sure to take into account your environment and climate because certain seed types won’t grow in certain climates.
There are even more possible variations to the hydroseed mixture/slurry like different fertilizers or color dyes (we don’t use dyes in our product). The biggest difference between slurries other than seed type is the type of mulch that’s added. Our experts would be happy to help recommend which mixture will work best for your project.
Thank you very mulch.
Why is mulch an important component of the mixture?
Mulch is the ingredient that makes hydroseeding possible! Wet mulch is heavier than seed and water and allows the mixture to spray farther and more efficiently. Mulch also aids in the growth process in a lot of ways. Once it lands on the soil, it forms a protective “blanket” over the seed combination and holds it in place, protects against the elements, and promotes seed germination. This “blanket” is why hydroseeding is also used for erosion control.
The common types of mulch are
-
Wood Fiber Mulch
-
Blended Mulch
-
Paper Mulch
Sometimes these mulches also contain other ingredients like synthetic fibers, sawdust, etc. that help it perform better.
Each mulch type listed above performs at a certain level and has a different cost. Wood Fiber Mulch is typically the most effective (and priciest) as it’s both heavier and more protective of the seeds. Blended Mulch is a combination of wood fiber and paper (usually 70% wood and 30% paper) that is a more affordable option that Wood Fiber Mulch. While still effective, it’s not as protective as Wood Fiber Mulch. Paper Mulch is generally not recommended.
Why hydroseeding?
There are three choices for lawn installation: sod, hydroseed, and grass seed. How do you decide which method is best for you?
First, let’s introduce the contenders.
Sod is the most expensive to both buy and install. It can be done by professionals or a homeowner. Sod can be installed any time of year and requires frequent watering and lawn care. It’s the fastest installation option, in fact, it’s almost instant. Sod also brings with it the possibility of disease issues and the grass having difficulty getting a good root system started.
Hydroseeding is less expensive than sod and should be done by the pros with the right equipment to ensure successful installation. Jump to the definition of Hydroseeding, or the best time of year for hydroseeding.
The cheapest option is simple grass seed installed by the homeowner. Grass seed is easy to install, but is very slow to grow (can take several months). It also requires a lot of care and protection from things like wind and birds that can displace your seeds.
Usually, Hydroseeding is the best bang for your buck.
Hydroseeding gives you the best of both worlds. It’s both affordable and efficient compared to other methods.
Do it yourself hydroseeding
So we’ve sold you on hydroseeding but maybe not on the cost? Give DIY hydroseeding a try!
Your local hardware store may carry a DIY hydroseeding kit including a seed mixture and the necessary tools (an easy-spray canister), but you can also make your own if you’re interested in using a custom mixture.
As you’ve learned, hydroseeding works because of the mixture of ingredients. In order to be successful on your own, you’ll have to do some research on your area to find out which ingredients will work best in your climate. Here in the midwest, Kentucky bluegrass is the most popular choice.
Michigan State University has a great in-depth guide to hydroseeding in our climate.
Your hydroseeding equipment will need to consist of a holding tank and a pump (like a garden hose) to spray your mixture onto the soil. Check out pinterest for some ideas and examples of homemade sprayers.
If your homemade hydroseeding tool falls short, try renting equipment. You might be able to rent equipment for around $300/day from a hardware store.
The job isn’t quite done after you’ve distributed your mixture.
For the next few weeks you’ll have to keep your lawn constantly wet. That might mean watering it more than three times a day depending on the weather (try installing in the spring for ideal conditions).
Again, these options won’t be as good as calling the pros to take care of it, but you might be able to establish a pretty good lawn on your own if you do your research and take your time.
Soil erosion and hydroseeding mistakes
As simple as “create a mixture and spray it” sounds, there are a lot of ways hydroseeding can go wrong. Whether you’re doing it yourself or hiring someone, there are some critical steps that can help guarantee a beautiful lawn or a successful erosion control blanket.
The first mistake you or a professional can make is failing to do a soil test. Soil should be tested for pH and toxicity levels that occur often on construction sites. If the results show issues, you could be doomed before you begin. If your soil test comes back with a gold star, you’re ready to get the project done.
Do your homework.
Another mistake is choosing the wrong seed or mixture. If you or the company you hire skips doing the proper research, you could end up with a weed garden or a failed lawn with no growth at all.
We explained why spring is the best time to install a hydroseed lawn, but often this in ignored due to other factors. Construction projects take up the summer and then lawns are installed in late summer or fall. They will struggle to grow because of the heat, dry weather, or simply because they don’t have enough time to get established before winter hits.

Time to start seeding!
Now that you have a good working knowledge of hydroseeding, you’re ready to create your beautiful lawn, park, or any other grass-covered paradise.
Interested in a hydroseeding quote from Superior Groundcover?
Subscribe for more helpful lawn care or landscaping tips.
