We all love the idea of transforming a barren landscape into a lush, green oasis in no time. Hydroseed is a fast, cost effective way to plant a beautiful lawn quickly. For it to truly work its magic though, the soil needs to be primed and ready. Here is the essential hydroseed prep that landscapers and homeowners need to be aware of before planting a new lawn.
What is hydroseeding?
Hydroseeding is an easy and effective way to establish grass, wildflowers, or even erosion control over a large area without all the back-breaking work.
Hydroseeding involves spraying a slurry of seeds, mulch and fertilizer onto the bare dirt. It leaves you with uniform growth in just 2-3 weeks.
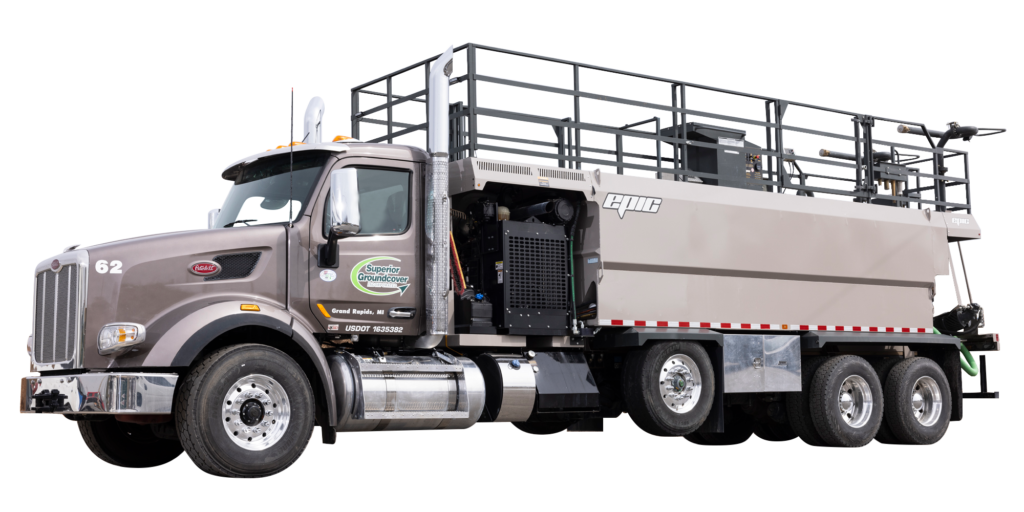
Because hydroseed is applied using tank trucks with long application hoses, it is much less labor-intensive than traditional seeding methods and more cost effective than laying sod.
The Importance of Hydroseed Prep
The downside is that hydroseed is only as good as the soil it is placed on (but that is true with all planting projects). A well-prepared site gives the seeds the best possible environment to grow. Skipping or rushing through the hydroseed preparation phase usually leads to poor results and spotty growth. To avoid wasting your time and money, follow these necessary steps to prep the soil.
Tools and Equipment Needed for Hydroseed Preparation
To prepare your soil for hydroseed application, you’ll need:
- A soil test kit
- An aerator
- A tiller
- Rakes and shovels
Two Essential Steps to Prepare the Soil for Hydroseeding
Here are the two essential steps that every landscaper or homeowner needs to take to prepare their soil for optimal growth:
Step 1: Test the Soil
At Superior Groundcover, if we are contracted to do a hydroseed project from start to finish, the first step is always a site visit to analyze the soil.
If necessary, we will conduct a soil test to determine the soil type and pH levels. We use these results to customize the hydroseed slurry with everything the plants will need to develop strong root systems.
For example, if the soil is dense, clay soil, we know that will hold water well but can get compacted pretty easily. By adding the right organic matter ahead of time, we can improve the soil structure for the hydroseed application. If we need to adjust the pH levels of the soil, we could also add some pulverized lime to the hydroseed slurry mixture.
Step 2: Prepare the Ground
Next, you’ll need to make sure the ground is ready for the hydroseed application. Start by clearing the area of any debris, rocks, deep roots or existing vegetation. Use a rake to round up anything on the soil surface and remove it from the area.
Some people choose to spray weed prevention like Roundup or other herbicide. If you don’t want to use chemicals, the hydroseed slurry includes a weed pre-emergent to help prevent weeds from sprouting before the grass seed can take root.
Next, you will want to till and level the ground so that the hydroseed mixture can be applied evenly. Even out any low spots and make sure the site has proper drainage to prevent water accumulation. Standing water can drown the seeds, leading to unsightly bare spots.
Tips for Successful Hydroseed Application
Now that you know how to create an optimal environment for your hydroseeding project, here are a few other practical pieces of advice to help you grow a lush lawn in no time:
- Timing is crucial. The best times for hydroseeding are late spring and early fall, when temperatures are mild and rainfall is more consistent. Trying to plant a new lawn in the scorching heat of summer is never a good idea. Even the best sprinkler system will struggle to keep up.
- Know when to water. Speaking of sprinklers, water is another critical factor in plant growth. The soil should be kept consistently moist but not waterlogged. Frequent, light watering is better than infrequent, heavy watering. This approach helps the seeds germinate properly.
- Catch issues early. Even after the initial hydroseed application, you’ll want to monitor the site regularly for any issues, like erosion or pest infestations. Early intervention can keep small problems from becoming major setbacks.
Hydroseed Without the Prep
Although spending hours preparing the ground for hydroseed may seem like a lot of work, thorough hydroseed prep is an important step. Neglecting site preparation can lead to uneven growth, bare spots, and poor root development. Taking the time to prepare the surface is the only way to get that beautiful lawn or golf course you and your clients desire.
If you want the efficiency of hydroseeding without all the tilling, soil analysis and grueling prep work, contact Superior Groundcover today for an estimate. We will take on your hydroseed project from start to finish so that all you have to do is approve the project and consider it done. We even include followup fertilizer applications to keep your grass growing strong.


